Dynamic Images in Calculators
We will take a look now at three common ways to include images in a way that they react to the input of the user. Images in a calculator typically go at the top or at the bottom, almost never in the middle.
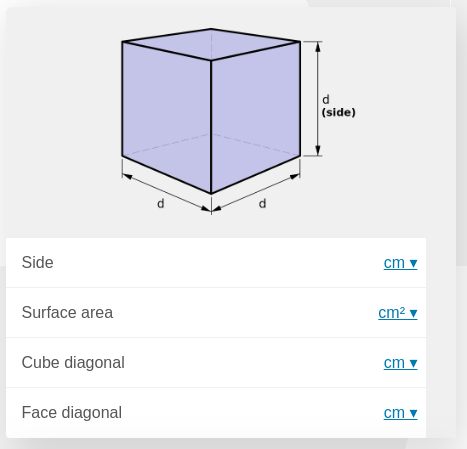
This is how an image looks like when put at the top.
To react to user input we need to setup conditions on which and where we set the images. We present 3 typical ways to do just that, they are by no means the only ones, but should cover over 90% of your needs.
Methods
Array method
This method is typically used to show images at the top of the calculator. For it to be applicable we need to be able to predict all the possible values of the variable controlling which image we will show.
See also
Check out the resulting calculator at Dynamic Image (Array) on BB.
This method is ideal for value selects and value setters with custom uid. In the example we use a value select for simplicity, to do the same with a value setter you need to apply the procedure to Use a Value Setter as a Value Select.
 1'use strict';
 2/*
 3    Create value setter and bind it
 4*/
 5var aB = omni.createValueSelect({
 6    y:{"name":"Christmas","value":"0"},
 7    n:{"name":"Summer", "value":"1"},
 8    nY:{"name":"Summer Christmas", "value":"2"}
 9});
10omni.onInit(function(ctx) {
11    ctx.bindValueSelect(aB, 'selection');
12    ctx.setDefault('selection', 1);
13});
14/*
15    Let the magic start
16*/
17omni.onResult(function(ctx) {
18    // Image on top - based on Value Select
19    ctx.hideVariables('top');
20    var imgs = ["summer.png",
21                "xmas.jpg",
22                "xmasSummer.jpg"
23                ];
24    ctx.addHtml("<img src=https://uploads-cdn.omnicalculator.com/images/Al_docs_" +
25                imgs[ctx.getNumberValue('selection')] + ">",
26                {afterVariable: 'top'}
27                );
28});
Note
You can use this method with any value but you would need to create another array or a dictionary and at that point we all wonder if it’s really worth it.
To use this method you need to create an array of strings where each item is the name of the image you will show for the value corresponding with the position of said name.
You would then use this relationship between position of the name in the array and value of your relevant variable to add the right name to the html text.
Warning
This method requires that you be able to predict all the possible values of the relevant variable.
If-else Method
This method is the most useful and less elegant. It is probably the one you have been using so far as it is the most intuitive.
Simply code your conditions and requirements in a series of if...else statements and run the function addHtml with the desired arguments.
See also
Check out the resulting calculator at Dynamic Image (IF ELSE) on BB.
We have included a couple tricks so that you write less text when using this method. In short it’s just setting up strings containing those parts of the html call that would be shared across all outputs.
 1'use strict';
 2omni.onResult(function(ctx) {
 3    // Image at the bottom - based on result
 4    var result = ctx.getNumberValue('a');
 5    var htmlStart = "<img src=https://uploads-cdn.omnicalculator.com/images/Al_docs_",
 6        htmlEnd = ">";
 7    if (result > 0){
 8        ctx.addHtml(htmlStart+ "positive.png" + htmlEnd);
 9    }
10    else if (result < 0){
11        ctx.addHtml(htmlStart+ "negative.jpg" + htmlEnd);
12    }
13    else if (result === 0){
14        ctx.addHtml(htmlStart+ "neutral.jpeg" + htmlEnd);
15    }
16});
This is a more flexible method since it allows for more convoluted conditions and relations between the value of the relevant variable and the output image.
In this example the html code shared across all outputs is relatively small, but if you need your picture to be centred, have a specific caption (or alt text) it becomes more and more useful.
Name Method
This method is very similar to the Array method in concept. The main difference is that in this method you need to do a bit more prep-work when uploading the pictures and in return you get a simpler code to write.
See also
Check out the resulting calculator at Dynamic Image (Name Method) on BB.
In particular your preparation will consist in anticipating what images will be paired with what values and name the files appropriately.
 1'use strict';
 2/*
 3    Create value setter and bind it
 4*/
 5var aB = omni.createValueSelect({
 6    y:{"name":"Christmas","value":"0"},
 7    n:{"name":"Summer", "value":"1"},
 8    nY:{"name":"Summer Christmas", "value":"2"}
 9});
10omni.onInit(function(ctx) {
11    ctx.bindValueSelect(aB, 'selection');
12    ctx.setDefault('selection', 1);
13});
14/*
15    Let the magic start
16*/
17omni.onResult(function(ctx) {
18    // Image on top - based on Value Select
19    ctx.hideVariables('top');
20    ctx.addHtml("<img src=https://uploads-cdn.omnicalculator.com/images/Al_docs_header" +
21                ctx.getNumberValue('selection') +
22                ".jpg>",
23                {afterVariable: 'top'}
24                );
25});
As you can see, with this method we don’t need to prepare an array of names, we simply name the pictures in a way that they include the value that corresponds to them.
Tip
To make it easier to find and reference your picture we recommend you follow a robust naming scheme for all your pictures. The one shown in the example consists of [initialsOfCalculatorian]_[initialsOfCalc]_[uniqueImgName].
Warning
Just like the array method this method requires you to be able to predict all the possible values of the relevant variable.